Why Surface Prep Matters So Much
Ceramic coating is one of the best ways to protect your car’s paint. It creates a hard, clear layer that keeps dirt, water, and UV rays away. But here is the thing — if the surface under it is not clean and smooth, the coating will lock in all the problems. That means scratches, water spots, and swirl marks will be stuck there forever. Good surface prep is not just helpful. It is required.
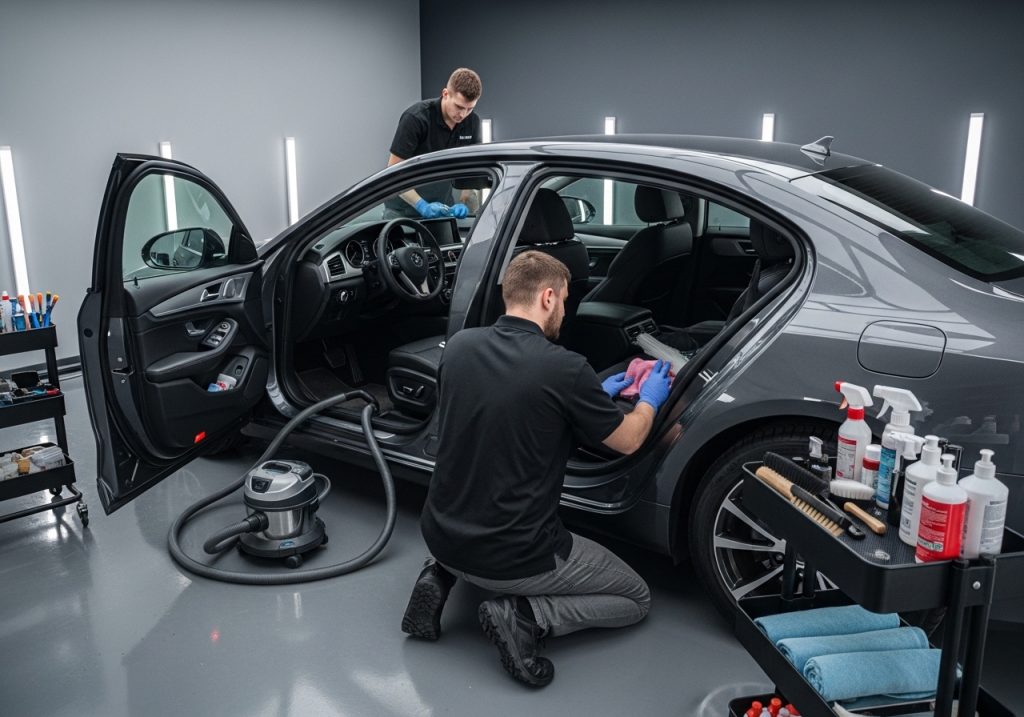
Start With a Thorough Hand Wash
The first step is always a deep, careful wash. You want to remove all loose dirt, dust, bugs, and road grime. Use a high quality car wash soap and a clean microfiber wash mitt. Wash one section at a time so the soap does not dry on the surface. Rinse well with clean water. Do not use a drive through car wash before a ceramic coating. Those brushes leave tiny scratches behind.
Use a Clay Bar to Remove Bonded Contaminants
A regular wash cannot remove everything. Some contaminants stick hard to the paint. Things like brake dust, industrial fallout, tree sap, and rail dust bond to the clear coat. You need a clay bar to pull them off. Work a small piece of clay over a lubricated panel in straight back and forth motions. You will feel it grabbing at first. When the clay glides smoothly, that area is clean. Clay bar treatment leaves the paint feeling as smooth as glass.
Do an Iron Decontamination Step
Iron particles from brake dust and rail dust are a big problem. They embed into the paint and can cause rust spots over time. An iron remover spray helps dissolve these particles before you clay the car. Spray it on and watch it turn purple or red as it reacts with the iron. Rinse it off thoroughly. This step works great alongside clay bar treatment to give you a truly clean surface.
Wash the Car One More Time
After the clay bar and decontamination steps, wash the car again. You want to rinse off any clay lubricant, iron remover, or leftover residue. Use a clean bucket and a fresh mitt. This second wash helps make sure nothing is left behind that could get trapped under the coating.
Check the Paint for Scratches and Swirl Marks
Now is the time to inspect the paint closely. Use a bright detailing light or work in direct sunlight. Look at each panel from different angles. Swirl marks, fine scratches, and water etching will all show up clearly. Ceramic coating does not fix these issues. It seals them in. If you see them now, you need to fix them before moving forward.
Paint Correction Removes Imperfections
Paint correction is the process of removing scratches, swirls, and oxidation from the clear coat. A machine polisher with the right pads and compounds is used to gently cut away a thin layer of the clear coat. This levels out the surface and removes the damage. After paint correction, the paint looks deep, glossy, and smooth. This step takes the most time but makes the biggest difference in the final result.
Wipe Down With Isopropyl Alcohol
After polishing, there will be polish residue and oils left on the paint. These must be completely removed before applying ceramic coating. Wipe the entire car down with an isopropyl alcohol solution mixed with distilled water. Use a clean microfiber towel and work panel by panel. This step strips away any leftover oils, waxes, or polish dust. The paint should look clean and slightly dull after this step. That means it is ready.
Work in a Clean Environment
Where you apply the coating matters a lot. Dust and pollen in the air can land on the panel while you are applying the coating. Work in a garage or enclosed space. Make sure the area is as dust free as possible. Close windows and doors to block airflow. The cleaner the environment, the better the coating will bond to the paint.
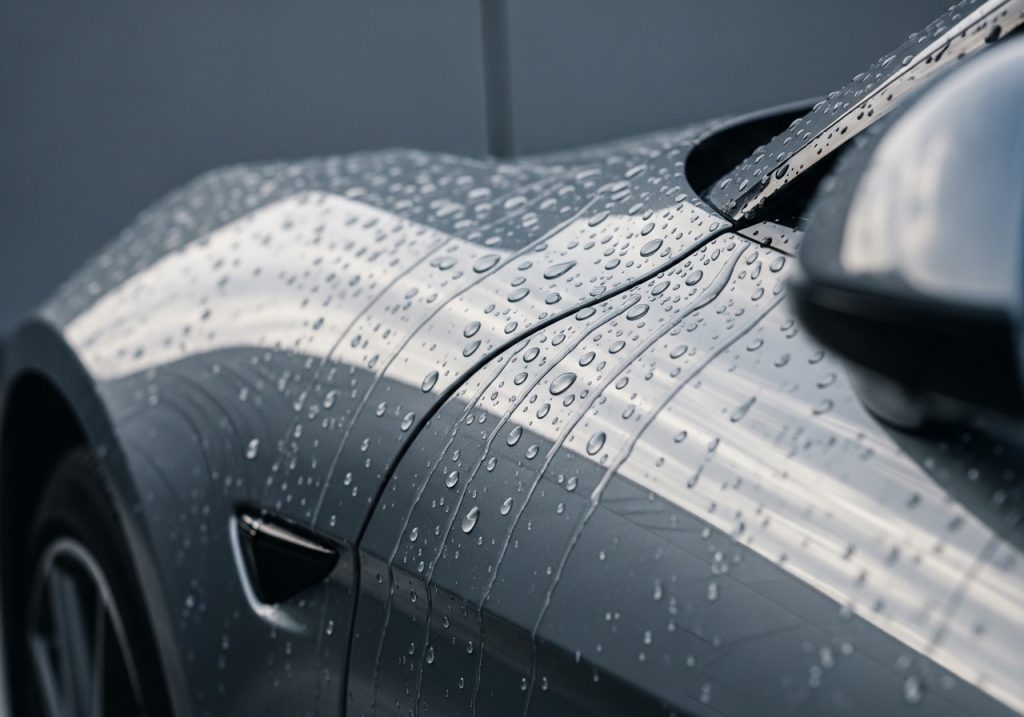
Make Sure the Surface Is Dry and Cool
Ceramic coatings need to be applied to a dry surface. Any water left on the paint can cause the coating to cure unevenly. After your final wash and IPA wipe down, let the car air dry or use a clean microfiber drying towel. Also make sure the paint is not too hot. Do not work on a car that has been sitting in the sun. Cool paint in a shaded area absorbs the coating better and gives you more working time.
Do Not Skip the Trim and Glass Prep
Surface prep is not just for the paint. Plastic trim, rubber seals, and glass need attention too. Clean these areas well so the coating bonds properly if you plan to coat them. Use a trim cleaner for plastic and a glass cleaner for windows. If you do not want the ceramic coating on certain areas, tape them off with painter tape before you begin.
Final Inspection Before You Coat
Do one last check before you open the ceramic coating bottle. Run your hand over each panel. The surface should feel perfectly smooth. Look at the paint under your detailing light one more time. Check for any missed spots, dust, or smudges. Wipe down any area that looks even slightly contaminated. This final check can save you from trapping something under the coating that you cannot fix later.
The Prep Work Is What Makes It Last
Ceramic coating can last for years when it is applied over a well prepped surface. The coating itself is important but the prep work underneath is what gives it staying power. Every step from the first wash to the final IPA wipe down builds the foundation. Skip steps and the coating will not bond right. Do the prep properly and your car will have protection that truly lasts.